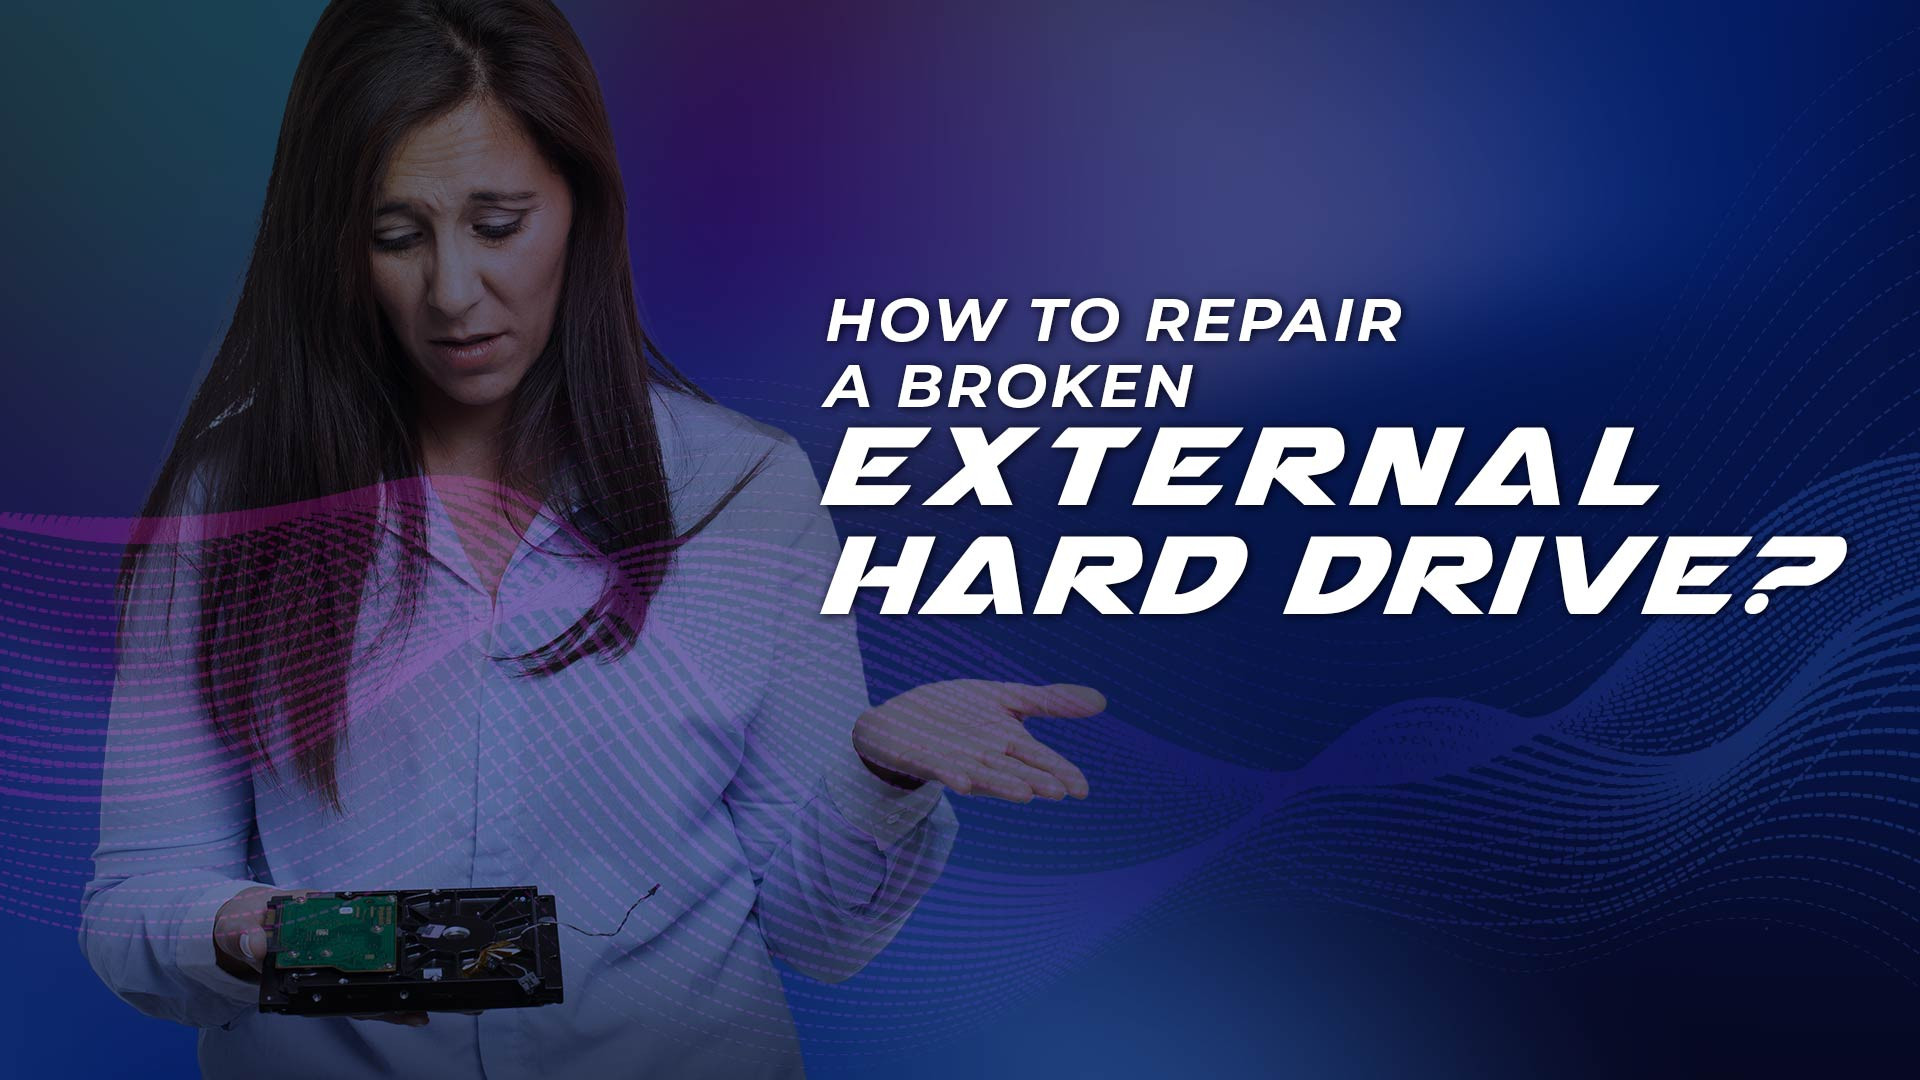
How to repair a broken external hard drive
Repairing a broken external hard drive can be a complex task, and it depends on the nature and extent of the damage. How to repair a broken external hard drive step-by-step - in this article.
How to repair a broken external hard drive - step-by-step
Here are some general steps you can take to try and repair a broken external hard drive:
- Check the power supply: Make sure the external hard drive is receiving power. Try connecting the hard drive to a different power source or using a different power adapter.
- Check the USB cable: Use a different USB cable and try connecting it to a different USB port to see if the drive is recognized.
- Check for software issues: If the drive is recognized, but you cannot access the data, try using data recovery software. You can use free or paid software, but it's essential to be cautious as some recovery software can cause further damage.
- Check the disk for errors: If the drive is not recognized, try using disk utilities such as CHKDSK or Disk Utility to scan the drive for errors. These tools can repair disk errors and make the drive accessible again.
- Check for physical damage: If the above methods fail, there may be physical damage to the hard drive, such as a broken head, damaged platters, or damaged PCB. In this case, it's best to take the drive to a professional data recovery service, as attempting to repair it yourself can cause further damage.
It's essential to back up your data regularly to avoid data loss in case of hard drive failure. If your external hard drive is still under warranty, contact the manufacturer or retailer for a replacement.
Is there a way to fix a broken external hard drive?
Whether or not it is possible to fix a broken external hard drive depends on the specific problem with the drive. Here are a few things you can try:
- Check the connections: Sometimes a loose connection can cause an external hard drive to stop working. Try unplugging the drive and plugging it back in to make sure the connection is secure.
- Check the power supply: Make sure the drive is receiving power. If the drive is powered by an external power supply, make sure it is plugged in and working properly.
- Check the USB cable: The cable connecting the drive to your computer may be damaged or faulty. Try using a different USB cable to see if that resolves the issue.
- Check for physical damage: If the drive was dropped or physically damaged, it may be beyond repair. Check for any visible damage to the drive or its components.
- Use data recovery software: If the drive is not physically damaged but cannot be accessed or read by your computer, there may be an issue with the file system or partition table. Data recovery software may be able to help you recover your files and fix any software-related issues with the drive.
If none of these solutions work, it may be necessary to take the drive to a professional data recovery service. These services have specialized tools and expertise to recover data from damaged drives. However, professional data recovery can be expensive, so it may not be the best option if you only need to recover a few files.
How do I scan and repair my external hard drive?
The specific steps to scan and repair an external hard drive depend on the operating system you are using. Here are the general steps for both Windows and Mac:
For Windows:
- Open File Explorer and locate the drive you want to scan and repair.
- Right-click on the drive and select "Properties".
- Click on the "Tools" tab.
- Under "Error checking", click "Check".
- If you want the scan to fix any errors it finds, check the box next to "Automatically fix file system errors".
- Click "Scan drive" to start the scan.
- Once the scan is complete, the results will be displayed. If errors were found and fixed, you will be prompted to restart your computer.
For Mac:
- Open Disk Utility, which can be found in the Utilities folder within the Applications folder.
- Locate the drive you want to scan and repair in the list on the left side of the window.
- Click on the drive to select it.
- Click on the "First Aid" button at the top of the window.
- Click "Run" to start the scan.
- Once the scan is complete, the results will be displayed. If errors were found and fixed, you will be prompted to restart your computer.
Note that scanning and repairing an external hard drive can take some time, especially if the drive is large or has many files. It is important to not disconnect the drive during the scan and repair process, as this can cause further damage.


